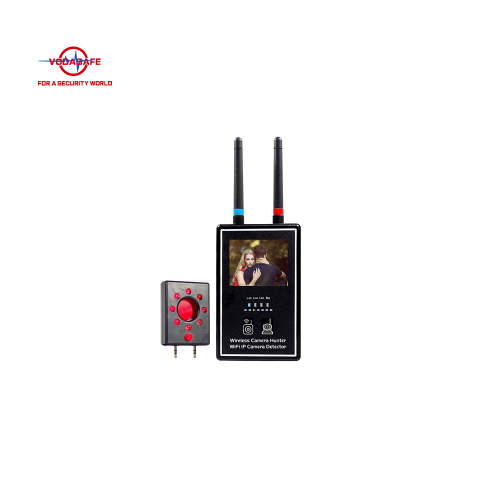


| 1. Install battery | 2. Turn on | 3. Video camera scan |
| 4. Image display | 5. Lock image | 6. Fine tune image |
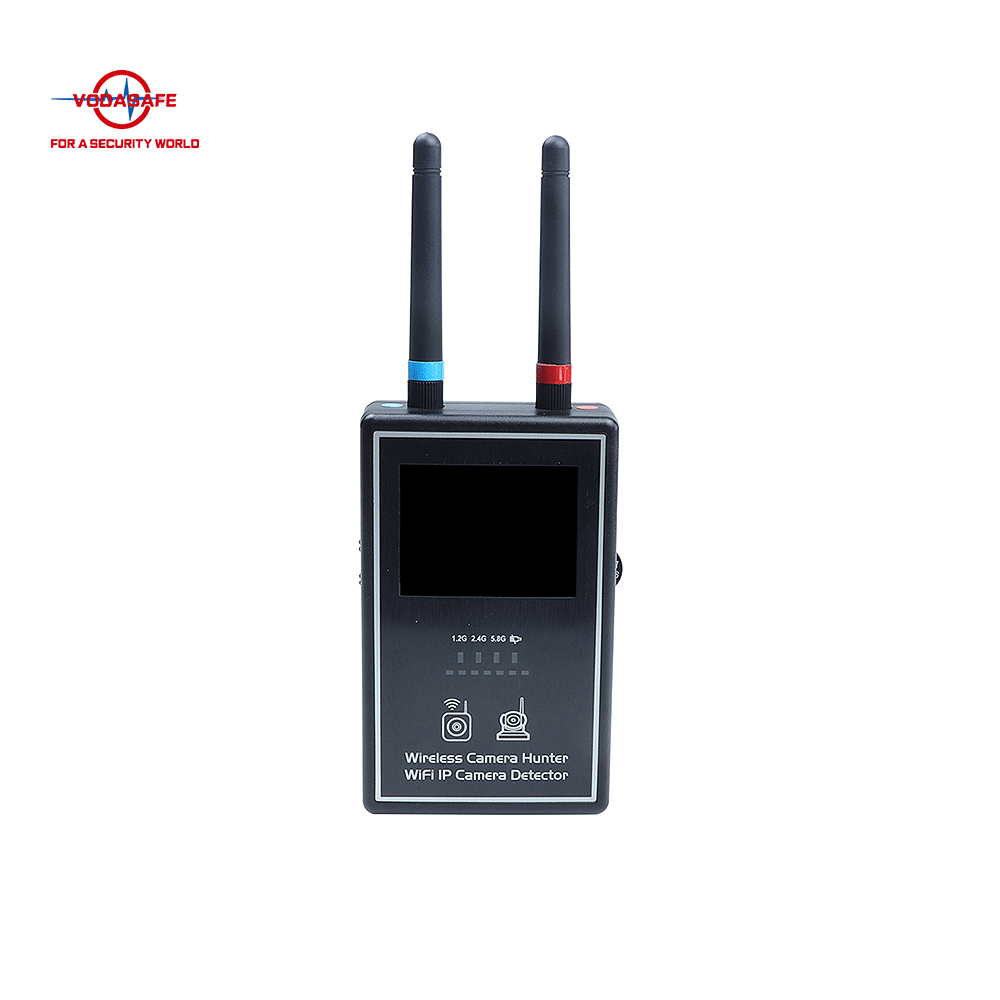
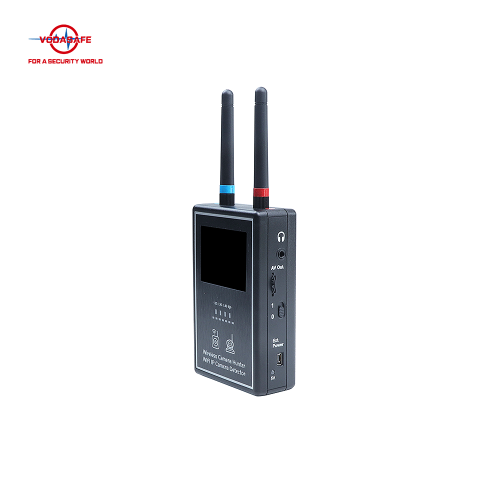
| 7. Audio demodulation | 8. Unlock image | 9. Detect WiFi IP CAM |
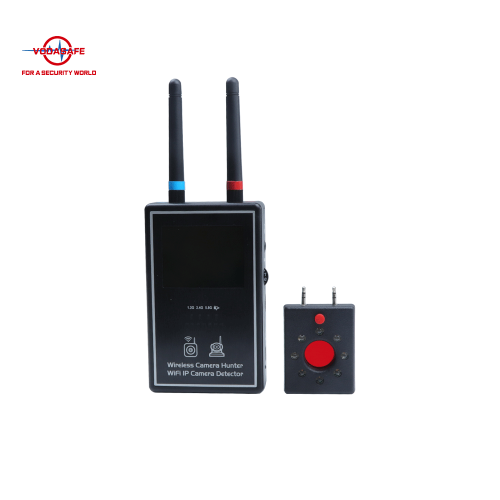
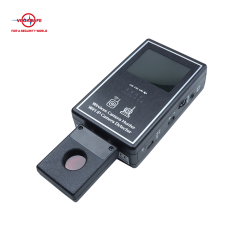
| 1. | Wireless camera hunter | 4. | External power adaptor x 1 |
| 2. | Detachable SMA antenna x 2 | 5. | Earphone x 1 |
| 3. | AV output cable x 1 | 6. | Rechargeable batteries x 4(optional) |
| 7. | Lens Finder |